Government Cheese Mac & Cheese Recipe – A Nostalgic Comfort Classic
When people talk about comfort food, few dishes come close to the creamy, cheesy, soul-warming experience of macaroni and cheese. It’s a staple at family dinners, potlucks, Sunday gatherings, and holiday feasts. But if you grew up in America during the 1980s or 1990s, chances are you’ve heard of or even tasted the famous government cheese. This iconic block of processed cheese became part of many households, and while some joked about it, others cherished it.
One of the most beloved ways to use government cheese was in homemade mac and cheese. Its unique texture and meltability made it the perfect ingredient for creating a smooth, rich sauce that coated every piece of pasta like a dream. Today, while real government cheese is harder to come by, you can recreate the nostalgic taste with American cheese, cheddar, or blends designed to replicate that same creamy quality.
In this post, we’ll take you through a step-by-step recipe for Government Cheese Mac & Cheese, share its history, tips for making it extra delicious, and even ideas for customizing it to your taste. By the end, you’ll have not just a recipe, but a full appreciation of why this dish has stood the test of time.
The History of Government Cheese
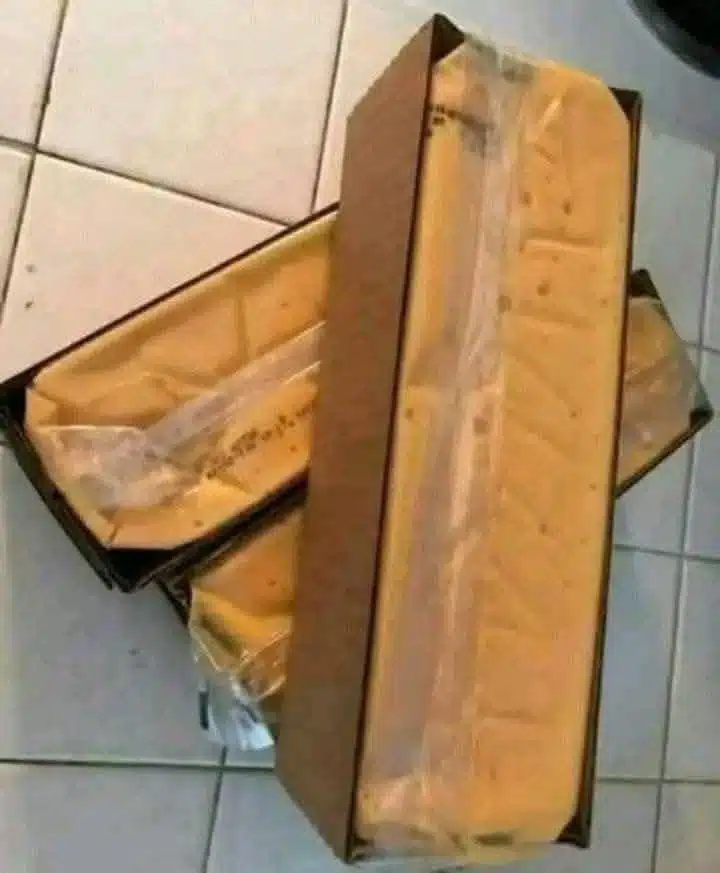
Government cheese was part of U.S. food assistance programs during the late 20th century. Made from surplus milk stored by the government, it was distributed in big blocks, usually orange or yellow, with a firm but melty consistency. Families on tight budgets relied on it, and while it wasn’t considered gourmet, it became a symbol of resilience and community.
For many, the taste of government cheese brings back childhood memories—grilled cheese sandwiches after school, cheesy scrambled eggs on weekends, and of course, giant pans of baked mac and cheese at family gatherings. Even today, many people still search for recipes that capture that same nostalgic flavor.
Why This Recipe Works
This Government Cheese Mac & Cheese recipe is designed to be:
- Creamy: Thanks to a rich cheese sauce that clings to every noodle.
- Comforting: The flavor is bold, simple, and satisfying—just like the original.
- Customizable: You can keep it classic or add toppings, proteins, or veggies.
- Perfect for gatherings: Easy to make in large batches and always a crowd-pleaser.
Ingredients
Here’s what you’ll need:
For the Pasta
- 1 pound (16 oz) elbow macaroni (cavatappi or shells also work well)
- 1 tablespoon salt (for boiling water)
For the Cheese Sauce
- 4 tablespoons unsalted butter
- 4 tablespoons all-purpose flour
- 4 cups whole milk, warmed
- 1 teaspoon Dijon mustard (optional, for depth)
- 1 teaspoon garlic powder
- 1 teaspoon onion powder
- ½ teaspoon smoked paprika
- 1 teaspoon salt (adjust as needed)
- ½ teaspoon black pepper
- 3 cups shredded government cheese (or substitute with American cheese or processed cheddar)
- 1 cup sharp cheddar cheese (for tang and balance)
For the Optional Topping
- 1 cup panko breadcrumbs
- 2 tablespoons butter, melted
- ½ cup grated Parmesan cheese
- 1 teaspoon smoked paprika
Instructions
Step 1: Cook the Pasta
- Fill a large pot with water, add salt, and bring to a boil.
- Add macaroni and cook until just al dente (firm but tender), about 7 minutes.
- Drain, toss with a small amount of butter to prevent sticking, and set aside.
Step 2: Make the Roux
- In a large saucepan, melt butter over medium heat.
- Sprinkle in the flour and whisk constantly for about 1–2 minutes until golden.
- Gradually whisk in the warm milk to avoid lumps.
- Let the sauce simmer until slightly thickened, about 5 minutes.
Step 3: Create the Cheese Sauce
- Stir in Dijon mustard, garlic powder, onion powder, paprika, salt, and pepper.
- Reduce heat to low and add the shredded government cheese and cheddar.
- Stir until smooth and creamy.
Step 4: Combine Pasta and Sauce
- Add the drained pasta to the cheese sauce.
- Stir gently until every piece of pasta is coated.
Step 5: Bake for Extra Flavor (Optional)
- Preheat oven to 375°F (190°C).
- Transfer the mac and cheese to a buttered 9×13-inch baking dish.
- Mix breadcrumbs, butter, Parmesan, and paprika in a bowl, then sprinkle on top.
- Bake uncovered for 20–25 minutes until golden and bubbly.
Variations & Add-Ins
- Meaty Upgrade: Stir in crispy bacon, diced ham, or pulled chicken.
- Veggie Boost: Add steamed broccoli, peas, or spinach.
- Spicy Kick: Mix in diced jalapeños, hot sauce, or cayenne pepper.
- Southern Style: Add a beaten egg to the cheese sauce before baking for a firmer texture.
What to Serve with Government Cheese Mac & Cheese
This dish is hearty enough to stand alone but pairs wonderfully with:
- Fried chicken
- BBQ ribs or pulled pork
- Green beans, collard greens, or a simple salad
- Cornbread or biscuits
Storage & Reheating
- Refrigerator: Store leftovers in an airtight container for up to 4 days.
- Freezer: Freeze portions for up to 2 months. Thaw overnight before reheating.
- Reheat: Warm on the stovetop with a splash of milk, or bake in the oven covered with foil.
FAQs
Can I still buy government cheese today?
Not exactly. The original government-issued cheese is no longer distributed, but you can replicate the flavor with American cheese or processed cheddar.
What makes government cheese different from cheddar?
It was denser, saltier, and had excellent meltability, similar to a cross between cheddar and American cheese.
Do I have to bake this mac and cheese?
No—stovetop mac and cheese with government cheese is equally delicious. Baking just adds crunch and depth.
Final Thoughts
Government Cheese Mac & Cheese isn’t just a recipe—it’s a piece of history, a taste of nostalgia, and a reminder that simple food can bring people together. Whether you grew up eating it or you’re discovering it for the first time, this dish delivers comfort in every bite. It’s creamy, cheesy, and endlessly customizable, making it the perfect addition to your recipe collection.